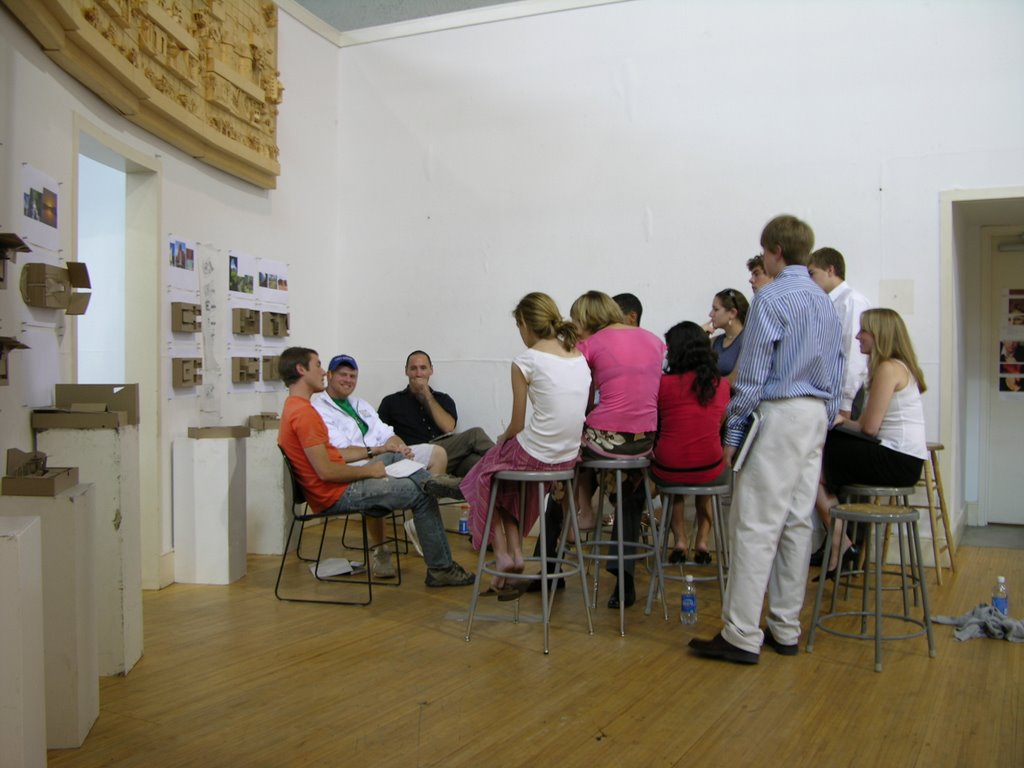
Jury 01


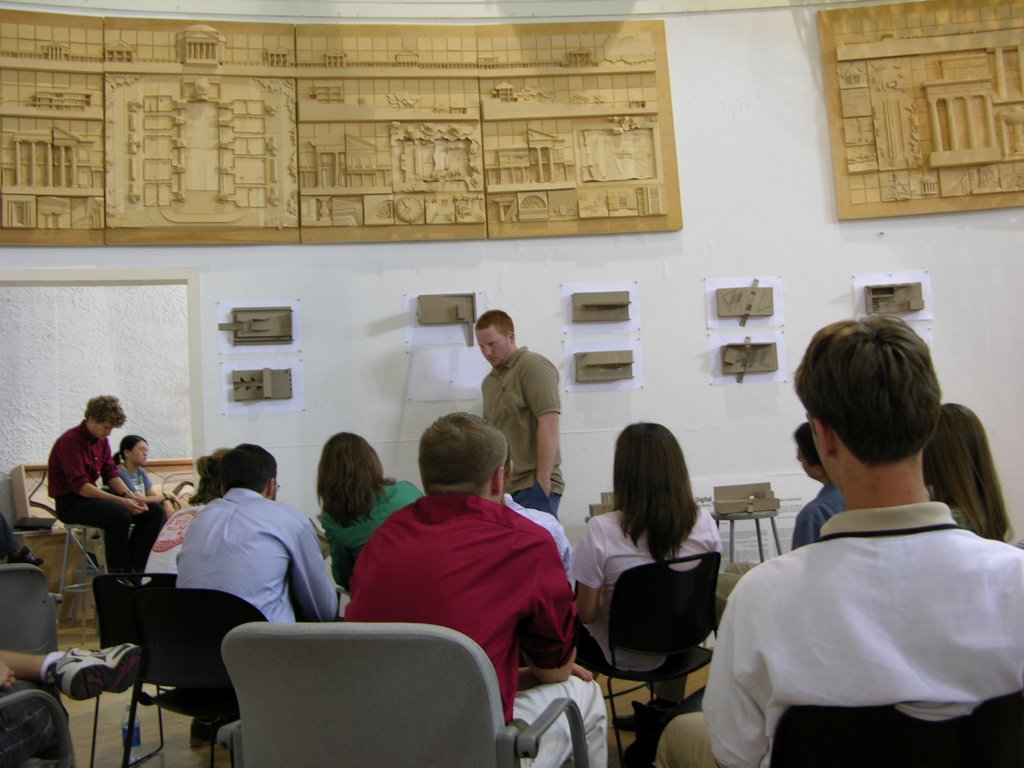
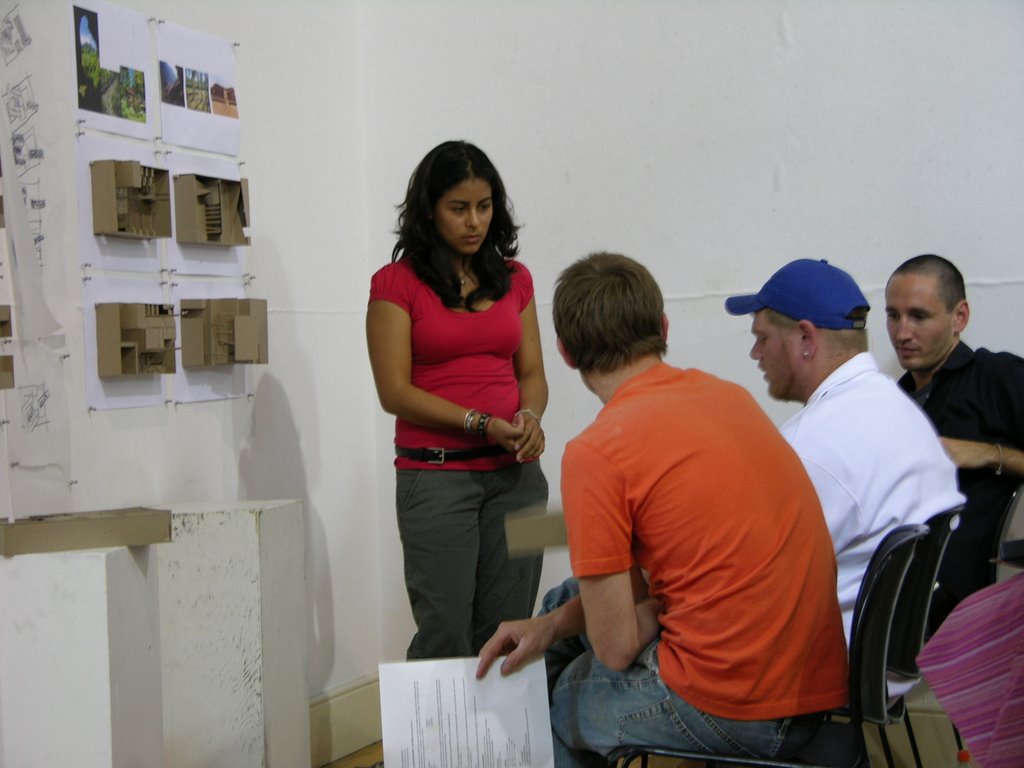


posted by dsb @ 12:22 PM
5 comments
![]()
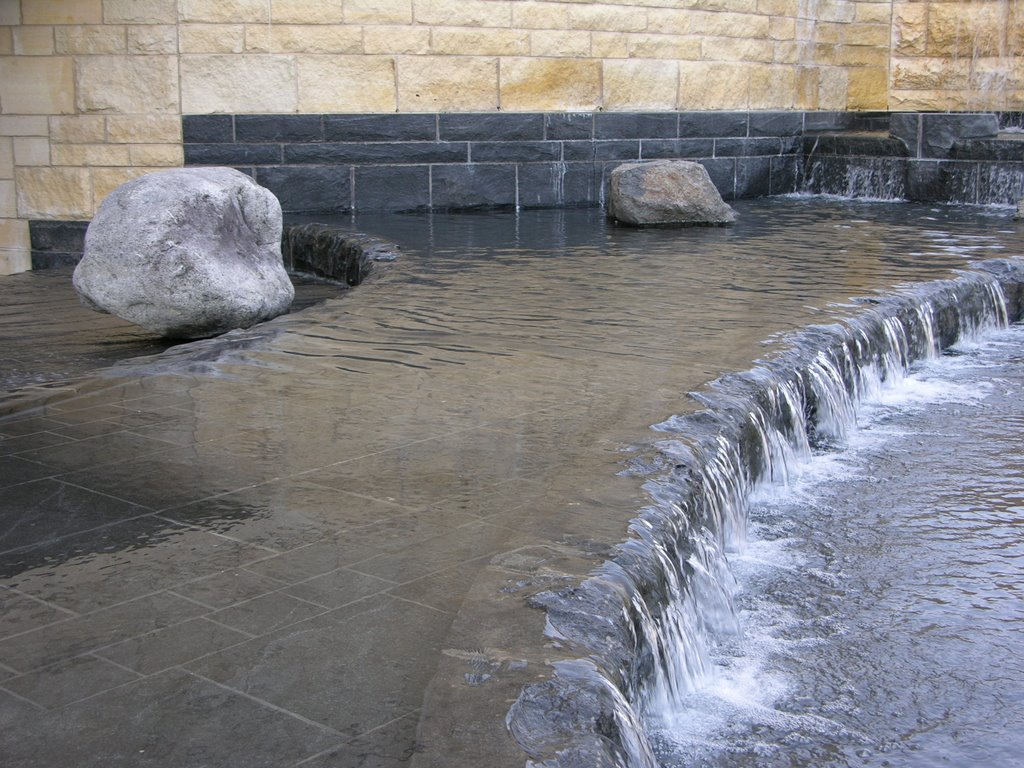
project3_ARCHITECTURE + NATURE_the client
CLIENT_DESIGN REQUIREMENTS
Archaeologist_
Astronomer_Interior / Exterior observation space
Secret Agent_Enclosed “hide-out”
Rock Star_Practice Area / Performance Stage
Take your landscape from project 2 and being to incorporate your client’s needs and desires. Do not forget human scale! Continue to draw from your chosen word and from your understanding of point, line, plane, and volume to
The design of this new space will require you build another series of process models, including in each the found landscape constructed in chipboard as well as the new intervention.
Strive to keep your solution for this client simple. Strong designs are often the result of just a few specific, effective moves. Keep your mind open and be creative, as always.
Design Parameters
Heed the design parameters from the phase one description sheet. You may add and subtract from your kit of parts as needed for this phase of the project, giving you the freedom to determine your own needs.
posted by dsb @ 12:05 PM
0 comments
![]()
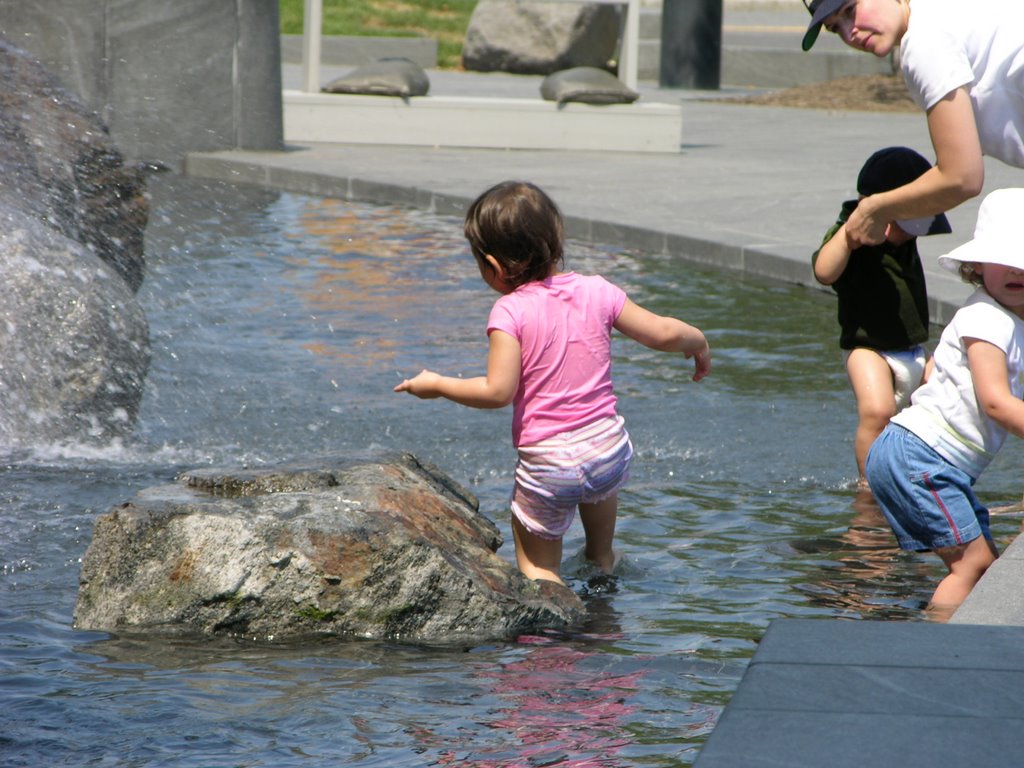
project2_ARCHITECTURE + NATURE_landscape study
Transformation
Extension
Repetition
Layering
Intersection
Subtraction
Addition
Your chosen word will give you a means of regulating your decision-making process. Feel free to choose a new word if so inclined, but from now on this will be the word you’ll stick with. The word you have chosen should guide your explorations and be made manifest in your design.
Entry
How does one approach the site/wall…on axis, from the side, from within? How do you define your entry…using void, solid, collision, erosion?
Path
How do you traverse the space? Will this path show reference to where you came from and where you are going to? Does it indicate direction?
Arrival
What makes this an arrival? What occurs at the arrival point? Is this the climax of the journey?
The models shall be monochromatic and made only of chipboard
Elements can be expressed as either solids or voids.
Above all, you must remain creative!
Site Volume
To create occupiable space
To express hierarchy, ritual and procession
To gain an understanding of defined space such as path, entry, and arrival
posted by dsb @ 12:04 PM
0 comments
![]()
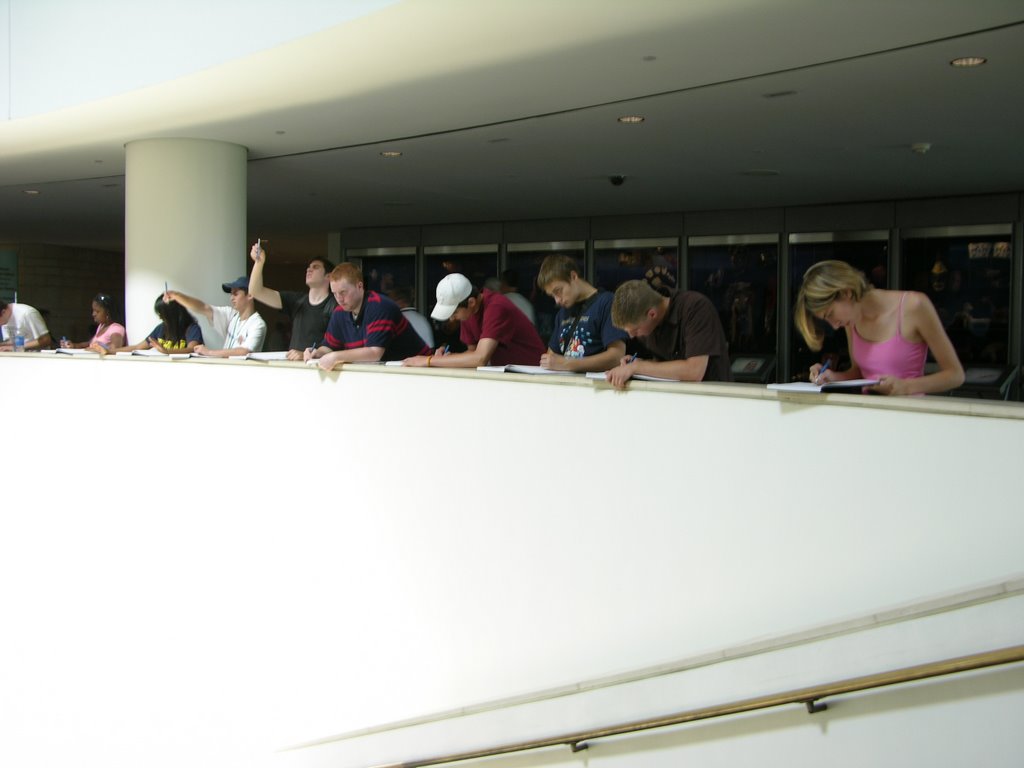
project1_ARCHITECTURE + NATURE_material matters
BOARD1 [due 12 July 06]
1. As a group collect natural elements from the campus. Examples are leaves, bark, rocks. You can also collect images of natural elements. You can take these photos yourself, get them off of the internet or photocopy them from materials in the library.
2. Carefully arrange your found natural objects and images portraying natural elements onto your first board.
3. Use your arrangement to discuss scale, texture, tone, or color.
4. Attach your images to the board and go to BOARD2
1. As a group, collect man-made elements and materials you find around campus. Examples are pieces of concrete and formed metal. You can also collect images of man-made elements and materials. These images can be of complete buildings or details of buildings. Like BOARD1, you can take these photos yourself, get them off of the internet or photocopy them from materials in the library.
2. Carefully arrange your found man-made objects and images portraying man-made elements onto your second board.
3. Your arrangement for BOARD2 should match BOARD1 in your discussion of scale, texture, tone, or color.
posted by dsb @ 12:03 PM
0 comments
![]()